Drip irrigation system adoption is skyrocketing among homeowners who want water-efficient and targeted plant care, but most are surprised by the real-world installation and maintenance challenges that come with it.
Key Takeaways
- Drip irrigation systems save water and promote healthier plants, but require careful planning and regular maintenance.
- Installation can cost anywhere from $20 for a basic DIY kit up to $2,850+ for professional setups, depending on garden size and complexity.
- Understanding common pitfalls — like clogging and uneven coverage — prevents frustration and ensures long-term success.
- What Is a Drip Irrigation System and Why Use One?
- How to Install a Drip Irrigation System: Step-by-Step Guide
- Advanced Analysis & Common Pitfalls
- Conclusion
- FAQ
What Is a Drip Irrigation System and Why Use One?
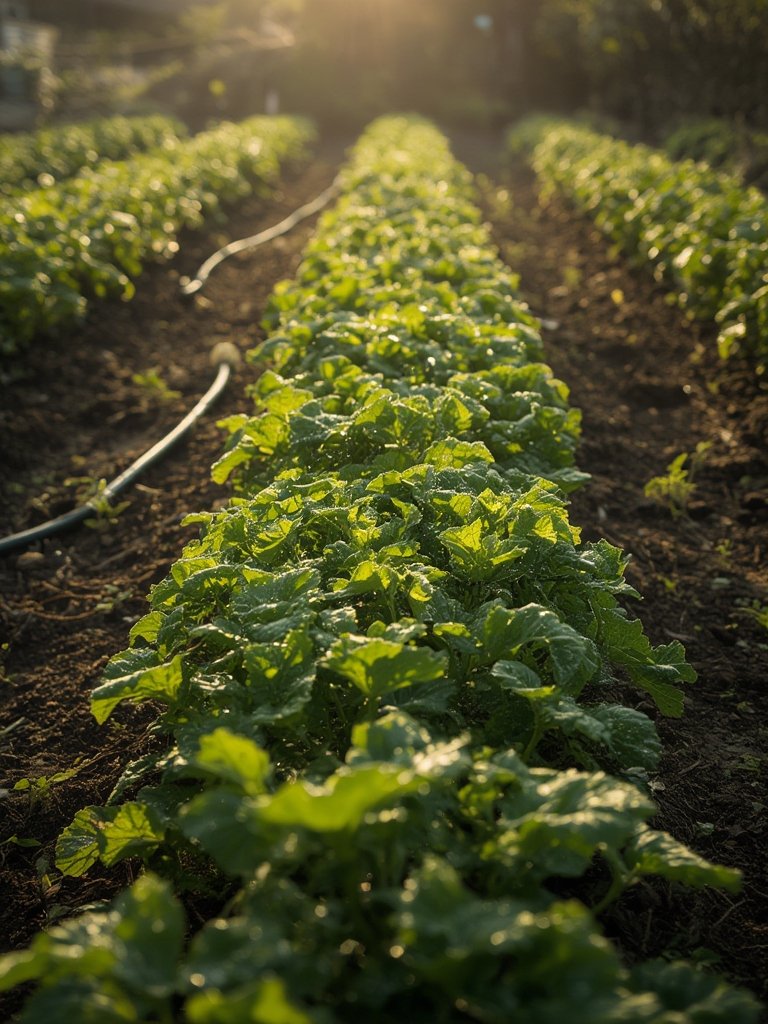
A drip irrigation system delivers water directly to plant roots at slow, precise rates using a network of hoses, tubing, and emitters. Unlike overhead sprinklers, it minimizes evaporation and runoff, targeting exactly where plants need moisture. This method is rapidly gaining popularity because it maximizes efficiency, reduces water waste, and promotes healthier gardens in any climate.
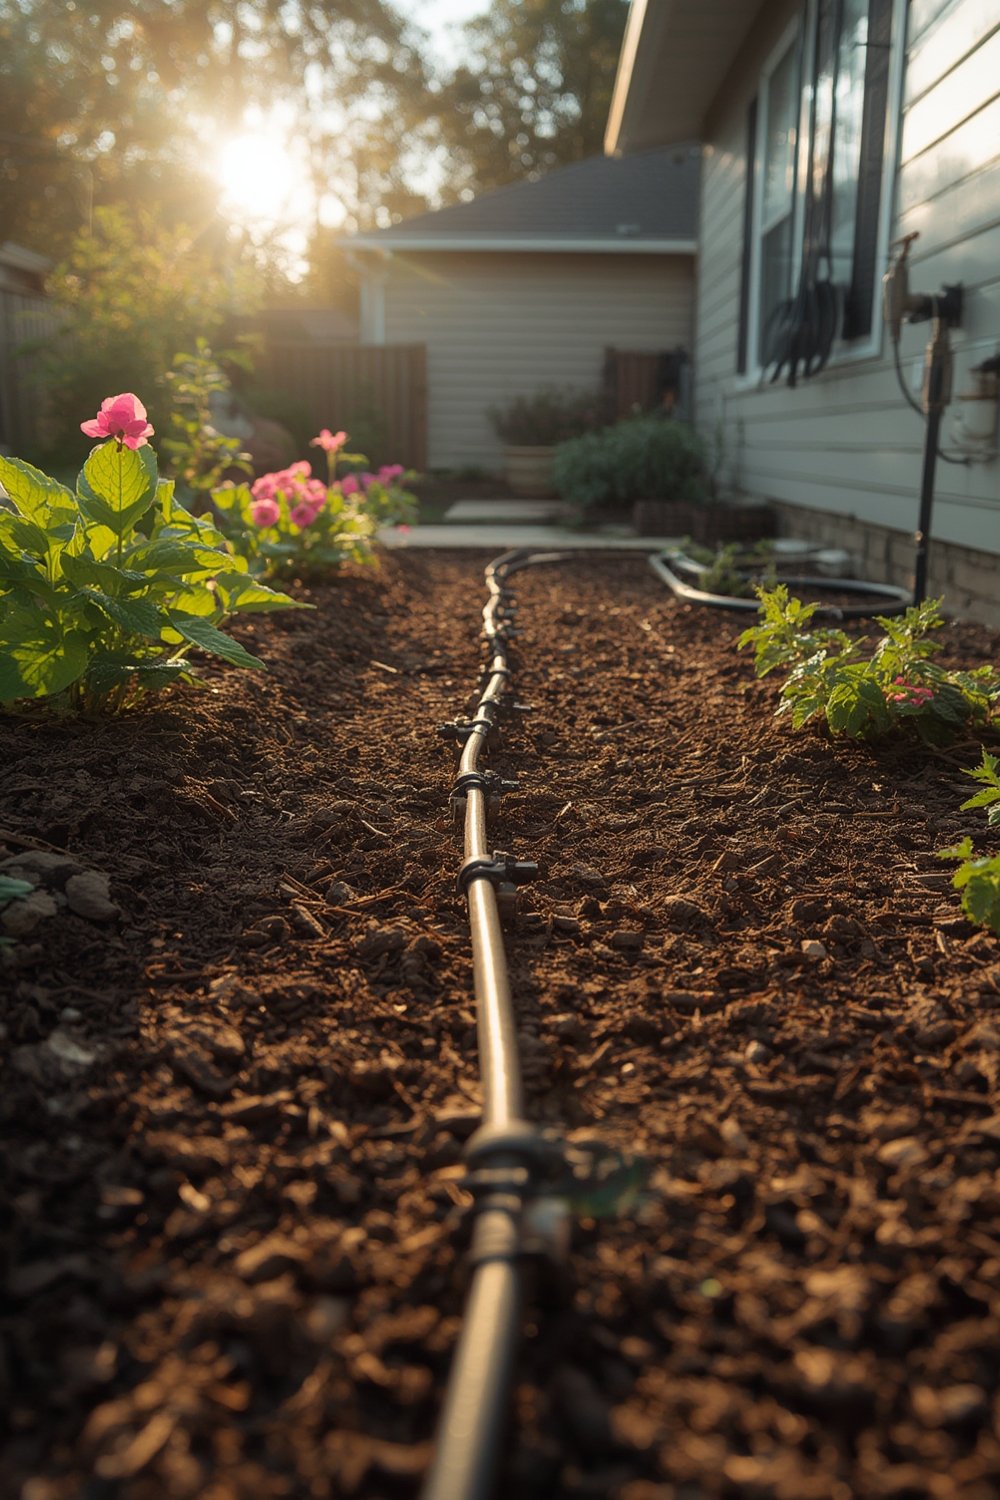
Industry reports show that in 2024, drip irrigation systems hold about 65% of the market share among efficient watering solutions for residential landscapes. This growth is driven by recent droughts, stricter water regulations, and the need for sustainable garden designs. Homeowners favor drip systems for their customizable layouts and the ability to automate watering, improving results for everything from vegetable beds to raised garden beds.
If you’re eco-minded, pairing a drip irrigation setup with sustainable outdoor furniture further enhances your garden’s environmental footprint.
How to Install a Drip Irrigation System: Step-by-Step Guide
Installing a drip irrigation system can seem daunting, but following these clear steps makes it manageable for most homeowners—no pro required.
-
Assess Your Garden Layout
Sketch out plant locations, groupings, and water needs. Note sunny versus shaded zones. Proper planning now saves you from frustrating replumbing later. -
Choose a Drip Irrigation Kit or Components
For small spaces or patios, a basic DIY kit (as low as $20) suffices. For larger yards, buy tubing, connectors, emitters, and a backflow preventer individually. Don’t forget a filter and pressure regulator to combat clogging and leaks. -
Install the Main Supply Line
Connect tubing to your garden hose or outdoor faucet. Lay main lines along garden beds or rows, securing with stakes. -
Add Branch Lines and Emitters
Use connectors to branch off main tubing, positioning emitters or drip-lines near the roots of each plant. Adjust spacing and flow based on species water needs. -
Test and Adjust
Turn on the water, checking for leaks, clogs, or sections that are too wet or too dry. Make adjustments for uniform coverage. -
Automate and Monitor
Add an automatic timer for hands-free watering, and occasionally check for debris in filters or clogs in emitters.
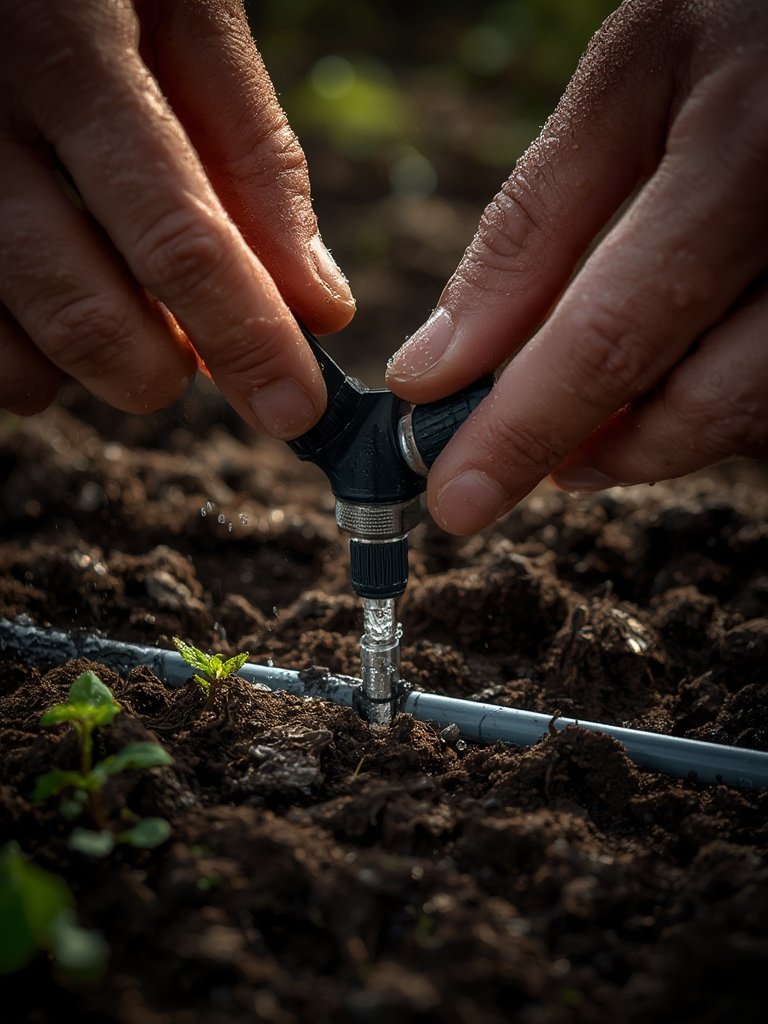
For more efficiency, group plants with similar watering needs to reduce adjustments and troubleshooting. If you’re growing in raised garden beds, plan your lines to snake around bed edges. Looking for eco-friendly upgrades? Check our guide to eco friendly kitchen storage to complete your sustainable home ecosystem.
You’ll want to keep your shed tidy, too — for tips on flexible storage, explore our garden tool storage organizer guide.
Advanced Analysis & Common Pitfalls
While the benefits are real, common drip irrigation problems catch many users off guard. Here’s a quick look at the most common complaints — and how to avoid them.
| Problem | Cause | Solution |
|---|---|---|
| Clogged Emitters | Mineral deposits, soil, or tiny debris in tubing | Flush system regularly, use filters, remove and clean emitters every few months |
| Uneven Coverage | Incorrect emitter spacing, pressure drops, mixed plant needs | Check for leaks, adjust flow rates, group similar plants together |
| Leaks at Connections | Poorly fitted connectors or joints, worn O-rings | Push fittings together firmly, replace defective parts as needed |
| Root Damage (Rare) | Overwatering, continuous system run | Set up an automatic timer and monitor soil moisture |
| Installation Overwhelm | Complex layouts, DIY inexperience | Start small, expand later, consider hiring a pro for initial setup |
According to a 2024 industry report, about 35% of users report installation or maintenance headaches as their top complaint. Costs shouldn’t be ignored either: basic kits can be $20-$300, while high-end, professional installations easily pass $2,850 and up [source].
Feeling eco-friendly? Use drought-tolerant plants with your drip system — and for your patio, consider pairing with eco-conscious outdoor seating for maximum green impact.
Conclusion
A drip irrigation system is a powerful upgrade for any garden, offering precise watering and real water savings — but it comes with a learning curve. Prepare for some troubleshooting at first, and expect to tweak your setup as plants grow and seasons change.
If you want to simplify garden chores, protect your investment, and reduce water bills, a drip irrigation system is a proven, sustainable strategy. Ready for more tips? Explore our raised garden beds guide or discover the best ways to organize your green space with our garden storage ideas. Try a drip system this season and see the difference for yourself.
FAQ
How much does a basic drip irrigation system cost?
DIY kits start as low as $20 for patios or raised beds. Professionally installed systems range from $200 to $2,850+, depending on the size and complexity of your garden. Advanced, customizable kits can reach up to $900 or more. More details here.
Are drip irrigation systems difficult to install?
Installation can be straightforward for basic systems but gets complex with larger yards or varied plant needs. It helps to start small and expand as your confidence grows. Many users experience initial confusion over fittings and pressure regulators; don’t hesitate to call a pro if needed.
What’s the top cause of drip irrigation failure?
Clogging due to unfiltered water or debris is the most common culprit. Always use a filter and flush your system periodically.
How does drip irrigation compare to sprinklers?
Drip systems are more water-efficient, reduce evaporation, and minimize weed growth by targeting only plant roots. Sprinklers are better for large, uniform lawns but tend to waste more water. See the detailed comparison here.
Can I automate my drip irrigation system?
Absolutely. Add a hose timer or smart controller for automated operation — a great upgrade if you travel or want a truly low-maintenance garden. If you love automation, you may also be interested in automatic pet feeders for complete home convenience.