
### Blog Post:
Garage storage racks are the quickest way to reclaim your garage from clutter and turn it into a truly usable space. Whether you need overhead storage for seasonal gear or wall‑mounted racks for day‑to‑day tools, there’s a setup for every garage—but every system comes with unique installation and usability realities.
Key Takeaways
- Installing garage storage racks typically takes between 2 and 10 hours depending on rack type, experience, and tools on hand.
- Choosing the right rack system and preparing your garage can prevent common issues like overloading, mounting errors, and underutilized space.
- Not all racks provide the same durability or capacity—do your research and consider future needs before selecting a system.
- What Are Garage Storage Racks & Why Do They Matter?
- How to Install Garage Storage Racks: Step-by-Step Guide
- Analysis & Common Pitfalls with Garage Storage Racks
- Conclusion
- FAQs About Garage Storage Racks
What Are Garage Storage Racks & Why Do They Matter?
Garage storage racks are modular or fixed shelving units designed to maximize vertical and ceiling space in your garage. These racks give you a sturdy and accessible way to organize everything from seasonal bins, tools, and sporting goods, to heavy-duty storage like tires and DIY equipment. By getting items off the floor and onto racks, you not only reduce clutter but also enhance safety and make cleaning simpler.

The main types of garage storage racks include overhead ceiling racks, wall-mounted racks, and free-standing shelving units. Each serves a purpose—overhead racks are best for seldom-used items, wall-mounted systems keep everyday items at hand, and freestanding shelves provide flexible, high-capacity storage for large bins, power tools, or general household storage.
Organized storage systems aren’t just about appearance; they increase usable space, protect your items, and reduce the risk of accidents. If you’re optimizing storage throughout your home, it’s just as crucial as implementing drawer organizer inserts in the kitchen or closet storage systems for your wardrobe.
How to Install Garage Storage Racks: Step-by-Step Guide
Installing garage storage racks is manageable for confident DIYers and quick for pros. Here’s how you can realistically plan and execute a successful garage storage upgrade.
Step 1: Pre-Planning and Measuring
- Decide what you want to store: heavy bins, seasonal items, sports gear? This will influence rack type and placement.
- Measure your garage space including ceiling height, clearance over the vehicle, wall space, door swing, and potential obstacles (like water heaters).
- Mark rack positions using painter’s tape or chalk. Plan for future storage and don’t crowd entry points.
Step 2: Choose the Right Rack System
- Overhead ceiling racks are best for items you access only a few times a year.
- Wall-mounted racks are ideal for tools, ladders, and frequently used gear.
- free-standing shelving units offer the most flexibility if you rearrange often or rent.
- Compare dimensions and weight capacities—most overhead racks hold from 250 to 600 pounds (check manufacturer specs).
Unsure which approach works best? For more ideas on maximizing storage in tricky spaces, check out our guide to under sink organizers.
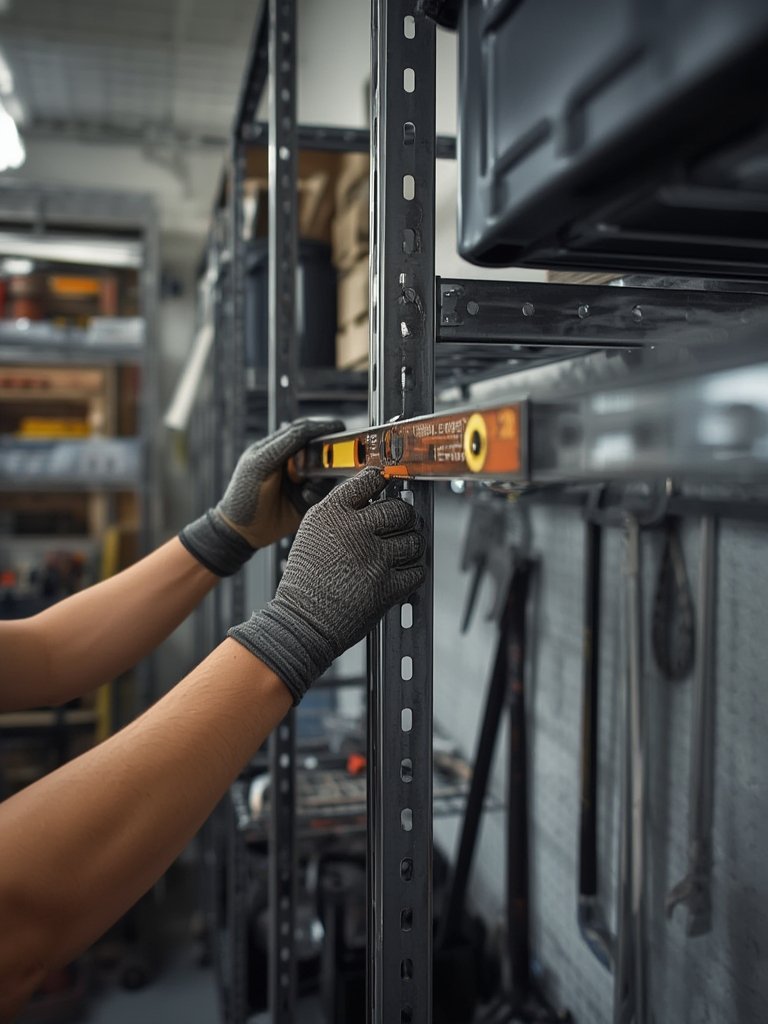
Step 3: Gather Tools & Prep Work Area
Before unboxing your new racks, assemble these essentials:
- 18V (or higher) cordless drill and appropriate bits (3/16‑inch, 1/4‑inch)
- Wrenches (7/16‑inch, 1/2‑inch, 9/16‑inch, open‑end)
- Sockets (1/8‑inch, 1/4‑inch, 7/16‑inch, 1/2‑inch)
- Stud finder (deep scan for ceilings/walls)
- Sturdy ladder, tape measure, 2‑foot/4‑foot level, pencil
- Hex head socket or driver, torque wrench, safety gear (gloves, glasses)
- Ask for help—a second pair of hands saves time and frustration
Lay out all rack parts and fasteners before starting. Double-check each box against the instruction manual to ensure nothing is missing.
Step 4: Installation (Overhead, Wall-Mounted, and Freestanding)
Overhead Racks: Use a stud finder to locate ceiling joists. Mark all mount points. Assemble racks according to your kit’s instructions, then pre‑drill pilot holes for hardware. Always mount directly into wood framing for maximum load capacity. With two people, expect 2 to 6 hours for a single rack (source, source).
Wall Mount Racks: Mark stud locations and hold rack frame against the wall. Mark mounting holes, drill pilot holes, and use recommended lag bolts. Securely fasten the rack to prevent wobble.
Freestanding Units: Assemble frames per instructions and verify every bolt is tight for stability. Use shims for uneven garage floors, and anchor to the floor or wall if recommended.
Step 5: Load Testing & Organization
- Before loading heavy bins or tools, gently test racks for wobble or sag.
- Gradually add weight and avoid exceeding manufacturer guidelines.
- Label bins and store heaviest items on lower shelves. For overhead racks, place seldom-needed items up high with clear labels.
If you’re organizing more than just your garage, see how proper pantry storage bins can help you control the chaos inside too.
Analysis & Common Pitfalls with Garage Storage Racks
Even great garage storage rack plans can go sideways without proper prep. Here’s a close look at realistic problems and proven solutions.
Common Pitfalls
- Underestimating Installation Time: Even with good instructions, DIY jobs often take 4 to 10 hours, including planning, assembly, and clean-up (source, source).
- Inadequate Tools: Missing the right wrench, drill bit, or anchor bolt can stall your project and cause mounting errors.
- Missed Studs or Joists: Wall and ceiling racks are only as strong as their anchors. Use a deep-scan stud finder and double-check measurements before drilling.
- Overloading Racks: Most racks are rated between 250 and 600 pounds—exceeding this can cause failure. Stick to manufacturer specs and distribute weight evenly.
- Not Planning for Change: Your storage needs may evolve. Leave some open shelf space for new tools or sports gear.
Specs Comparison Table
| Rack Type | Typical Dimensions | Weight Capacity | Installation Time (DIY) |
|---|---|---|---|
| Overhead Ceiling Rack | 4′ x 8′ (adjustable height 18–40″) | 250–600 lbs | 2–6 hours |
| Wall Mounted Rack | 18″ x 48″ (varies by brand) | 100–300 lbs | 1–3 hours |
| Freestanding Shelving Unit | 24–48″ width, 60–80″ height | 250–800 lbs per shelf | 1–3 hours |
The absence of detailed consumer pain points or product defect data in 2024 means you’ll need to rely heavily on reputable brands and clear installation guides. Don’t hesitate to engage a professional if you lack heavy-duty tools or carpentry skill—especially when installing ceiling racks. For more on smart home upgrades that add value, see our Home Depot kitchen remodel reviews.

Conclusion
Creating an organized garage begins with high‑quality garage storage racks—and the right installation approach. Planning ahead, double-checking measurements, and understanding realistic installation times are just as important as the racks themselves. By following this guide, you can maximize space, reduce daily stress, and safely enjoy every square foot of your garage for years to come.
Ready to reclaim your garage? Start by measuring your space and use these steps to confidently select and install the garage storage racks that fit your lifestyle. For more tip-packed guides, don’t miss our strategies on fridge and pantry organization.
FAQs About Garage Storage Racks
How long does it take to install garage storage racks?
Professional installers often finish in a few hours or less than a day. DIYers may need up to 10 hours for complex systems due to planning, assembly, and hardware prep (source).
What tools are necessary for installing racks?
Key tools include an 18V+ cordless drill, drill bits, various wrenches, sockets, sturdy ladder, tape measure, level, stud finder, safety glasses, and torque wrench. Borrow or rent specialty tools if needed.
Can I install overhead garage racks by myself?
It’s possible for experienced DIYers, but overhead installations go faster and are much safer with two people. For heavy racks, professional help is recommended.
What is the best weight capacity for garage storage racks?
Most ceiling racks offer 250–600 lbs capacity. For shelves, 250–800 lbs per shelf. Always check manufacturer guidelines and never exceed stated limits.
Do garage storage racks come with warranties or certifications?
Warranty and certification details vary by brand. Since there is limited 2024 data, verify warranty and return policy from the seller before finalizing your choice.
—